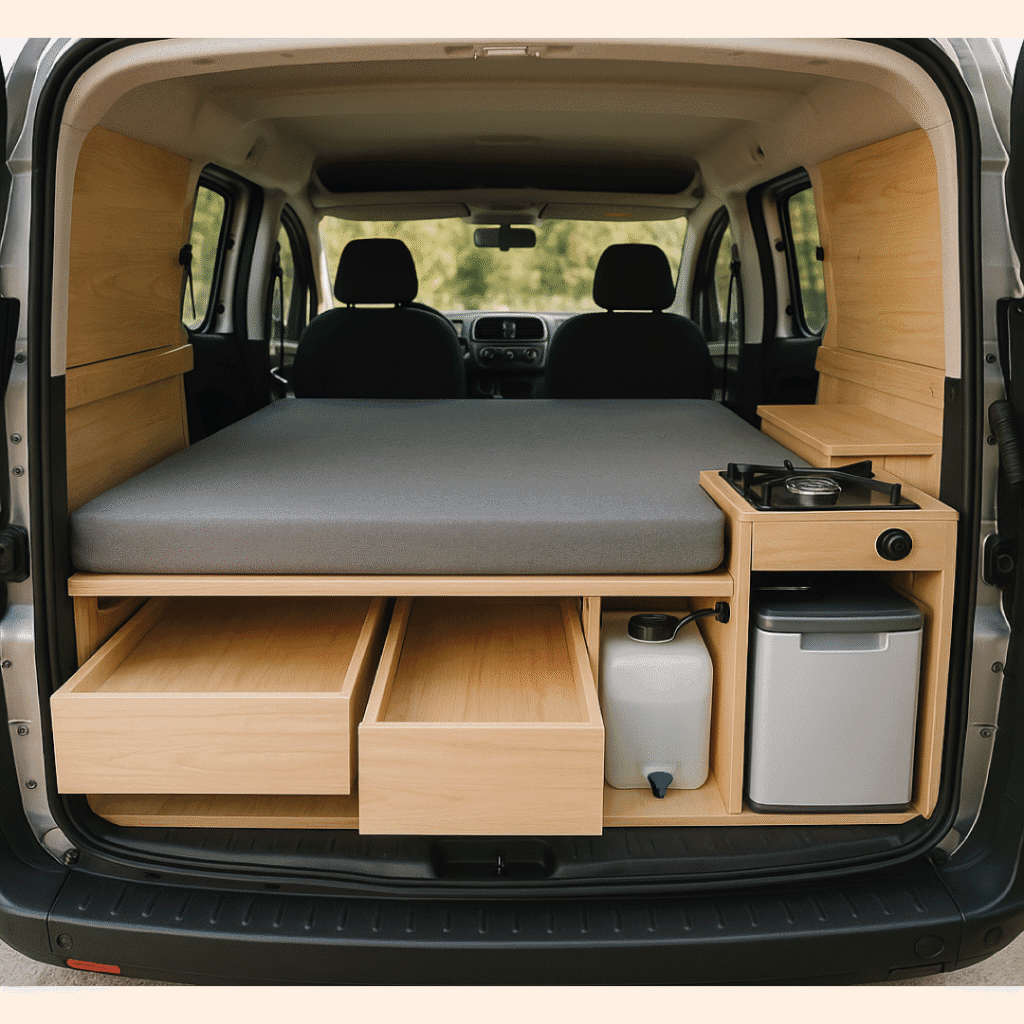

Comfort in a caravan, in relation to climate conditions, largely depends on a well-planned insulation structure. Choosing the right materials and taking a holistic application approach limits overheating in summer and reduces heat loss in winter. This keeps the interior temperature more stable, keeps energy consumption at a reasonable level, and lowers the likelihood of moisture-related problems. This guide summarizes the basic principles, the strengths and limits of material options, application steps, and maintenance recommendations.
Where Insulation Helps
- Thermal balance: Seasonal fluctuations indoors are dampened, widening your comfort range.
- Energy efficiency: Heating and cooling needs decrease; battery and fuel consumption is optimized.
- Structural protection: Risk of corrosion from condensation and sweating is reduced.
- A healthy environment: Moisture and mold formation are kept under control, and air quality stays stable.
Material Alternatives
| Material | Key Features | Points to Watch | Suitable Areas |
|---|---|---|---|
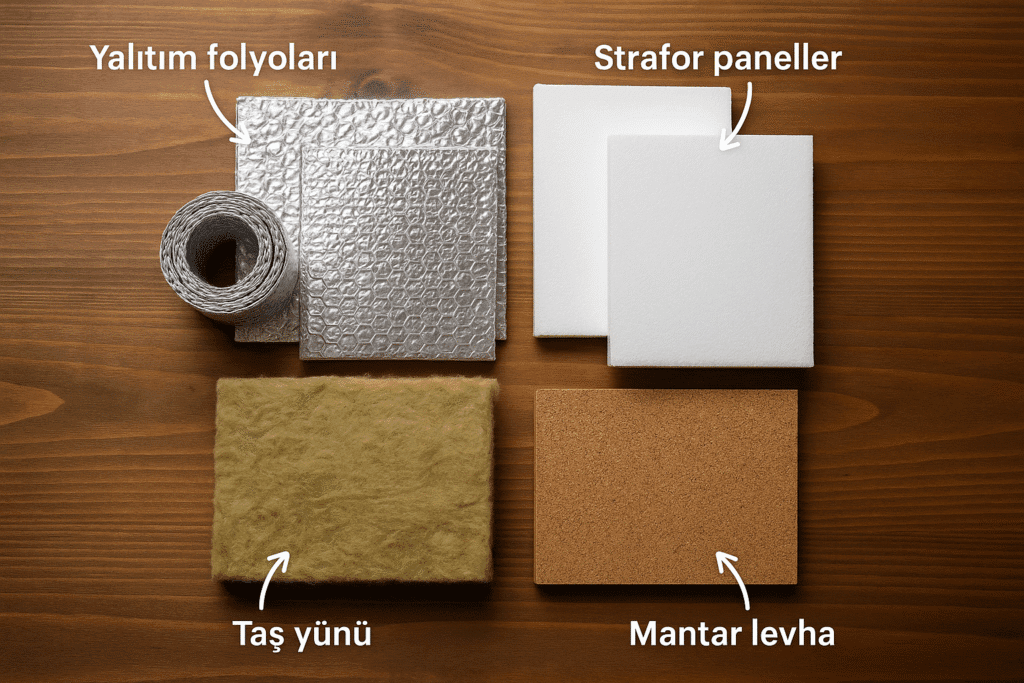
| Armaflex (elastomeric rubber foam) | Balanced performance in thermal and sound insulation; flexible; adhesive-backed versions available | Cost is higher than XPS; requires proper surface preparation | Roof, side panels, beams and posts |
| XPS (extruded polystyrene) | Lightweight, economical, low water absorption | Risk of gaps forming on curved surfaces | Floor and large flat panels |
| Aluminum foil / reflective barrier | Effective at reducing radiant heat transfer | Not sufficient as the sole insulation on its own; considered part of a layered system | Supporting layer over the main insulation |
| Tape, weatherstripping and mastics | Provides sealing and continuity at joints | Material quality and application lifespan are decisive | Window/door surrounds, seam lines |
Consistency in the Application Approach
Insulation isn’t just a matter of thickness; it produces meaningful results when it comes together as a whole through continuous surfaces, reduced thermal bridges, and proper ventilation. Continuity between material layers and the sealing of joints are decisive for overall performance.
Application Steps
- Preliminary work and planning: Interior dimensions are measured, and a separate plan is created for the floor, roof, side panels, doors, and metal beams/posts.
- Surface preparation: Surfaces are cleaned and freed of grease and dust; rust and paint issues are addressed. Adhesion quality is the fundamental determinant of long-term durability.
- Floor layer: Rigid panels like XPS are installed without gaps. Plywood and the preferred final flooring go on top. Heat loss through the floor line is significantly reduced.
- Roof and side surfaces: The elastomeric foam layer is applied to fit curves with minimal seams. Joint lines are sealed with tape and mastics.
- Managing thermal bridges: Not leaving metal beams and posts bare is effective at limiting heat loss through conduction.
- Controlling vapor transfer: Especially in cold climate conditions, inside-to-outside vapor flow is managed with a barrier layer. This step reduces the risk of hidden mold formation.
- Ventilation and condensation: A roof fan/vent plan and balanced air intake reduce the likelihood of condensation during high-humidity moments like cooking and showering.
Maintenance and Longevity
The performance of the insulation system is preserved through regular checks. The condition of door and window seals, the adhesion strength of tapes, and the integrity of mastics are reviewed at regular intervals. After winter, check panel interior surfaces for signs of condensation. Necessary spot repairs keep the system’s noise and thermal management performance stable for many years.
Common Mistakes
- Discontinuous application: Even small gaps increase heat loss and reduce overall effectiveness.
- Neglecting the vapor barrier: Raises the risk of mold and corrosion in hidden areas.
- Material suitability: Failing to consider flammability and emission (VOC) ratings can create safety and health issues.
- Sidelining ventilation: Even at high insulation levels, balancing airflow is still necessary.
Frequently Asked Questions
Can Armaflex and XPS be used together?
Mixed use is common due to different surface needs. Elastomeric foam is practical on curved areas, while XPS offers an economical, stable solution on the floor and flat panels.
Is reflective foil considered enough on its own?
Reflective barriers reduce radiant heat; however, they don’t replace the main insulation layer. They’re a complementary element of a layered system.
Does it have an effect on interior temperature in summer?
The effect of solar load is weakened by insulation, and the rate at which interior heat rises drops. Combined with ventilation, a measurable reduction in cooling needs is achieved.
What thicknesses are recommended for winter months?
While it varies by climate and frequency of use, in practice a range of 19-25 mm on the roof and side surfaces, and 20-30 mm on the floor layer, are common choices. Alongside thickness, the continuity of application and joint quality are also decisive.
This guide was prepared to frame general approaches. Variables such as vehicle type, climate of use, interior layout and equipment configuration require project-specific assessment.