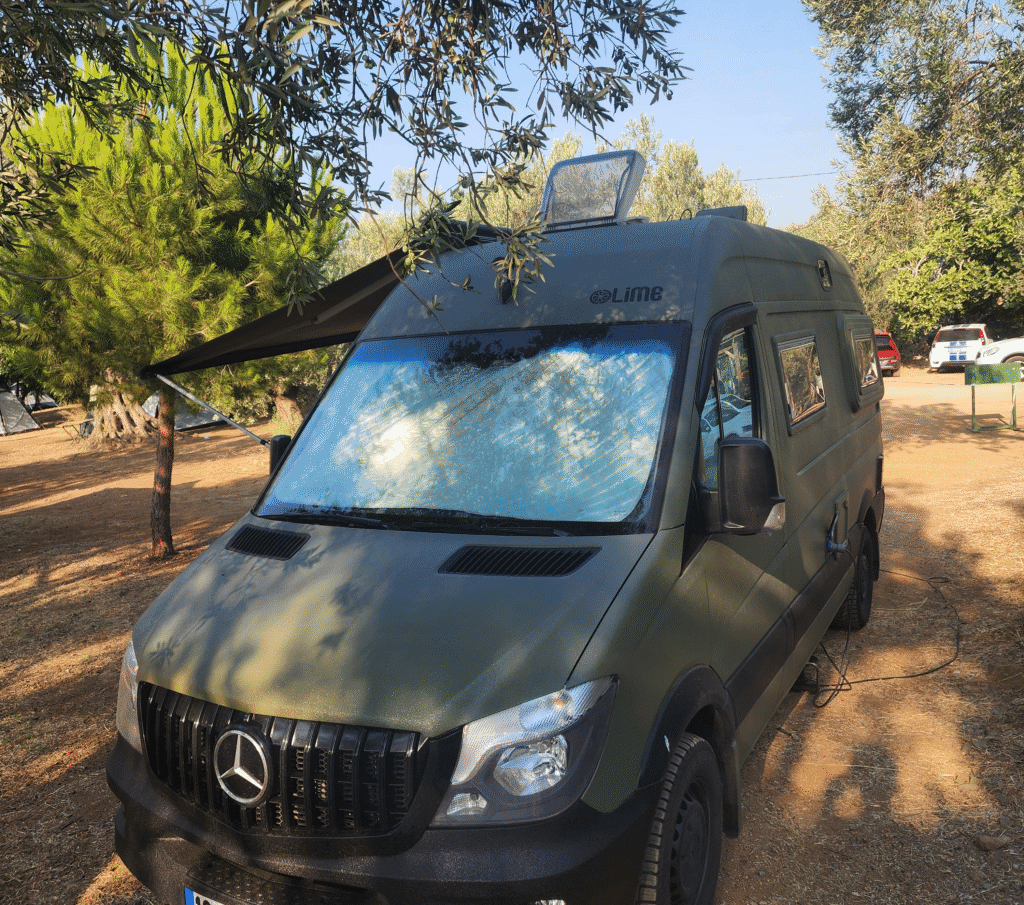
Caravans are mobile structures that operate under rain, snow, UV rays, road-stone impacts, and the friction/impact effects of camp life. Especially in panel van conversions, cut/added panels, roof penetrations, water inlet/outlet points, and exterior surface joints carry long-term corrosion and leak risk. Polyurea coatings, developed for heavy-duty industrial conditions, are increasingly preferred for caravan body protection thanks to fast curing, high elasticity, and complete waterproofing capability. In this comprehensive guide you’ll find what polyurea is, its application steps, pros and cons, weight and cost impact, maintenance/repair methods, and a practical comparison with vinyl wrap/paint alternatives.
What Is Polyurea?
Polyurea is the product of a polymerization reaction between an isocyanate component and an amine resin that can cure within seconds. It’s a multi-component system sprayed hot (heated) with high-pressure equipment, forming a seamless film. With high elongation at break (elasticity), impact/abrasion resistance, and chemical and UV resistance, it’s widely used on bridges, industrial floors, pickup truck beds, and military vehicles; these same properties provide long-lasting protection on caravan bodies too.
Tip: Polyurea on its own has limited color options. Applying an acrylic or polyurethane-based topcoat lets you reach the desired RAL shade.
Types of Polyurea: Pure vs. Hybrid
- Pure polyurea: The fastest cure, highest elasticity, and chemical resistance. Ideal for demanding outdoor and waterproofing-priority applications.
- Hybrid polyurea: May include polyurethane/polyether modifications on the resin side. Good cost/performance balance; can be sufficient for some projects.
On caravan exterior surfaces (sheet metal, aluminum, GRP/FRP panel), since adhesion and flexibility are critical in most cases, pure polyurea gives a safer result with the correct primer match. Still, hybrid systems can be considered depending on project budget, applicator experience, and the expected thickness/coat plan.
Applying Polyurea to a Caravan (Step by Step)
- Survey & Planning: The areas to be coated (roof, side panels, rear hatch, chassis top), masking zones, and target thickness (usually 1–3 mm) are determined.
- Surface Preparation: Grease, dirt, oxide and loose paint are removed. Mechanical roughening if needed (sanding/light blasting). A surface activator and a dust-free environment are essential for sheet metal/aluminum.
- Primer: An epoxy/polyurethane primer suited to the substrate is applied. The goal is to create an adhesion bridge.
- Masking & Detail: Carefully mask glass, seals, lights, and door gaps. Creating a radius at rivets, seams and corners improves the continuity of the shell.
- Hot Spray Application: The two components are heated and sprayed after mixing under high pressure. The typical target is a single shell of 1.5–2.5 mm. Wait time between coats, if needed, follows manufacturer guidance.
- Curing: Surface dryness occurs within minutes; full mechanical strength is usually reached after 24 hours. Exposure to water/oil should be avoided during this period.
- Topcoat Paint (Optional): Acrylic paint is applied for the desired color/effect. An aliphatic topcoat may be preferred to increase UV stability.
Equipment & Critical Parameters
- Machine: Two-component, heated, high-pressure reactors (e.g. 1:1 ratio systems). Incorrect ratio/partial blockage can lead to incomplete curing.
- Temperature & Pressure: Resin/isocyanate cartridge temperatures and line pressure are set per the manufacturer’s technical sheet; heating is typically required for the high viscosity.
- Ambient Conditions: Condensation, surface moisture, and low temperature reduce adhesion. An ideal relative humidity and temperature window is maintained.
Important: Polyurea application requires a professional crew and PPE (full-face mask, filter, coverall, gloves). Incorrect application leads to problems like crusting, bubbling, and peeling.
Advantages of Polyurea Coating
- 100% water and moisture proofing (seamless film); extra security around roof/joints/screws
- High impact and scratch resistance; a thick, elastic shell against stone chips and branch friction
- Flexibility from -40°C to +120°C; very low risk of cracking under thermal expansion/contraction
- UV and chemical resistance; resistant to salt spray and fuel/friction solvents
- Long lifespan (15+ years with professional application)
- Paintable surface: reach the desired RAL shade with an acrylic/polyurethane topcoat
- Easy maintenance: local repairs are possible and quick to put back into service
Disadvantages of Polyurea Coating
- Application barrier: Requires a high-pressure/heated reactor, a trained crew, and an enclosed space/masking.
- Aesthetic options: Texture/color is limited on its own; a topcoat is recommended for the desired look.
- Weight increase: Weight per m² increases with thickness (see the table below).
- Removability: Unlike a wrap, it’s not an easily reversible solution; it provides permanent protection.
Weight & Material Consumption (Approximate)
Polyurea’s density varies by system but is roughly taken as ~1.0–1.1 kg/L. A 1 mm thickness theoretically corresponds to ~1 L (≈1 kg) of material per m². The calculation below is illustrative; exact values should be determined per the applicator’s technical sheet.
| Target Thickness | Theoretical Consumption (kg/m²) | Weight Increase for 12 m² Surface | Note |
|---|---|---|---|
| 1.0 mm | ~1.0–1.1 | ~12–13.2 kg | Minimum shell; lightness priority |
| 1.5 mm | ~1.5–1.7 | ~18–20.4 kg | Common choice for exterior surfaces |
| 2.0 mm | ~2.0–2.2 | ~24–26.4 kg | High impact/abrasion |
| 3.0 mm | ~3.0–3.3 | ~36–39.6 kg | Heavy duty; similar to a pickup bed liner |
Recommendation: A target of 1.5–2.0 mm on the caravan roof/sides provides a good protection/weight balance in most scenarios. Local reinforcement thickness can be considered for wheel arches, rear sill, and stone-chip zones.
Comparing Polyurea, Vinyl Wrap and Paint
| Feature | Polyurea | Vinyl Wrap | Paint |
|---|---|---|---|
| Durability | Very high (15+ years) | Medium (5–7 years) | Medium (5–10 years) |
| Waterproofing | 100% (seamless film) | Water can get underneath | Depends on the film; not full waterproofing |
| Flexibility | No cracking, -40/+120°C | Edges can lift with heat | Thermal fatigue/cracking |
| Aesthetics | Unlimited with topcoat paint | Rich patterns/textures | Wide color range |
| Maintenance/Repair | Possible with local patching | Replaced piece by piece | Sanding/repainting |
| Application Time | Fast cure; in service in 24 hours | Fast, removable | Wait time needed between coats |
| Weight | Increases with thickness | Very low | Low-medium |
| Total Cost of Ownership | Low (long lifespan) | Medium | High (frequent maintenance) |
Which Option for Which Situation?
- Maximum durability & waterproofing: Polyurea (roof, riveted surfaces, impact zones)
- Aesthetic/texture/color variety & reversibility: Vinyl wrap (for those who want frequent color changes)
- Low upfront cost but regular maintenance: Classic paint (caravans kept in an enclosed garage)
Maintenance & Repair
- Periodic Check: Visually inspect the door sill, corners, and impact zones at each seasonal transition.
- Local Damage Repair: The damaged area is sanded/roughened and de-dusted; patched with the manufacturer’s compatible repair kit or a re-spray.
- Surface Cleaning: Non-abrasive shampoo; keep solvents and high-pressure water at a safe distance.
- Topcoat Maintenance: If an acrylic topcoat was used, plan a renewal interval for UV resistance per manufacturer guidance.
Safety & Compliance
Since polyurea is processed with systems containing isocyanates, a professional environment, proper ventilation, and personal protective equipment are essential. A full-face mask (with the correct filter class), protective coverall, gloves, and goggles are used. Masking waste and shell trimmings must be disposed of in accordance with environmental regulations.
Frequently Asked Questions
How many years does a polyurea coating last?
With professional application, a lifespan of 15 years or more is expected. Environment, thickness, and maintenance habits affect the lifespan.
Can polyurea be painted over?
Yes. The most common approach is an acrylic/polyurethane topcoat. Surface preparation and manufacturer compatibility matter.
Can I apply it myself?
No. It requires hot, high-pressure, two-component professional equipment and experience.
Does it help with sound/heat insulation?
Its main job is to create a mechanical and water barrier. Increased thickness can dampen impact noise somewhat; separate solutions should be used for thermal insulation.
How does it affect solar panels, vents, or roof equipment?
Mounting feet and penetration points get better sealing under polyurea. However, proper sealing and rust prevention must still be applied before drilling/fastening.
Is the weight increase significant?
At a thickness of 1.5–2.0 mm, roughly 18–26 kg of extra weight results for a 12 m² surface. Weight distribution and legal weight limits should be taken into account.
How do I calculate the cost?
Quotes are usually given per m². Total surface area × unit price + primer/masking and optional topcoat line items are added. Thanks to its long lifespan, the total cost of ownership is generally low.
Conclusion
Polyurea creates a permanent, seamless, and highly durable shell on a caravan body, significantly reducing the risk of water leaks and impact/abrasion damage. Although the initial application conditions are more professional compared to paint and vinyl wrap solutions, its advantages — long lifespan, low maintenance frequency, and complete waterproofing — lower the total cost. If your use case involves aesthetic expectations, a need for reversibility, or frequent color changes, vinyl wrap can be considered; for caravans kept in an enclosed space and accepting regular maintenance, paint can be considered. The right choice is made by weighing surface area, weight target, budget, and expected lifespan together.
Related content: For weight and registration matters after coating, check out our Caravan Registration & Insurance guide and our calculator guide for tax/cost items.